WROUGHT IRON RAILING MANUFACTURER
- HOME
- WROUGHT IRON RAILING
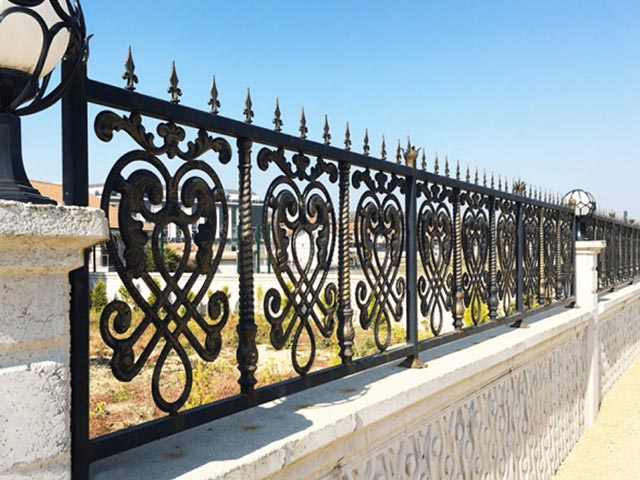
WROUGHT IRON RAILING
Wrought iron railings have long been celebrated for their enduring elegance, strength, and versatility. Crafted from a tough and malleable form of iron with minimal carbon content, wrought iron railings offer a range of benefits that have made them a classic choice in architecture and design.
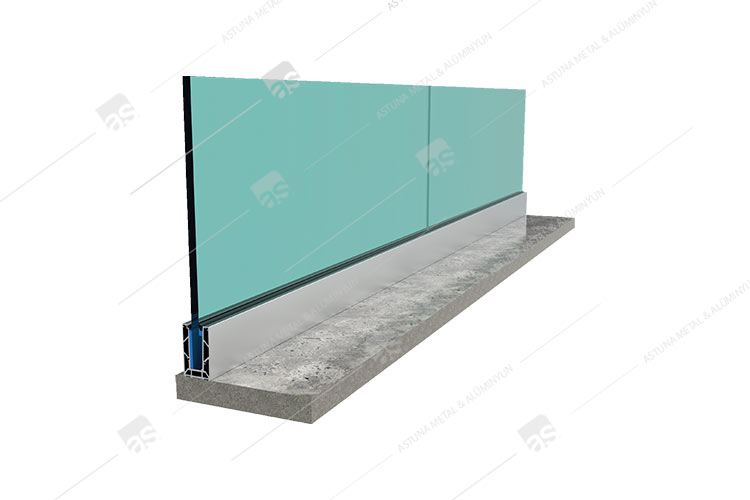
OUR WROUGHT IRON RAILING SYSTEMS
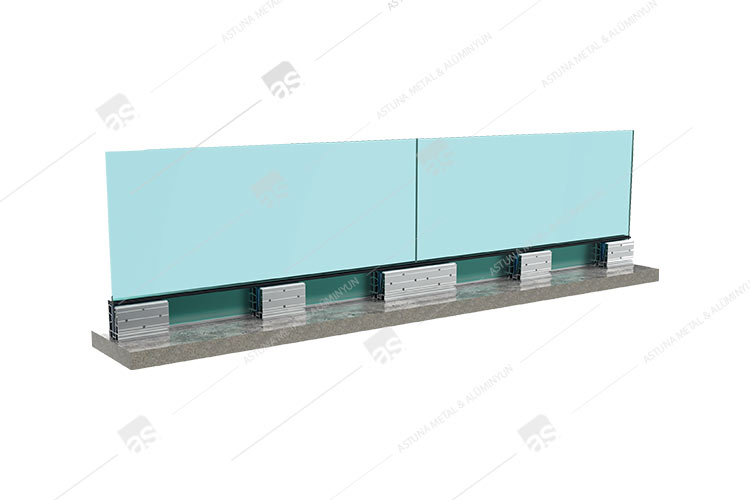
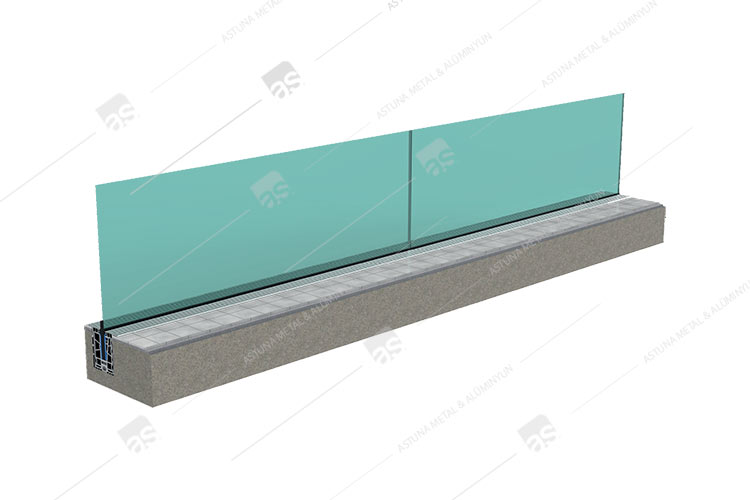
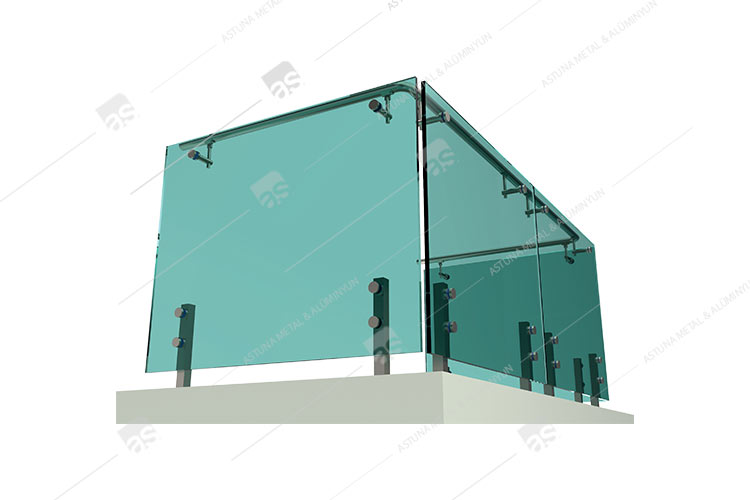
E42 GLASS BASE SYSTEM
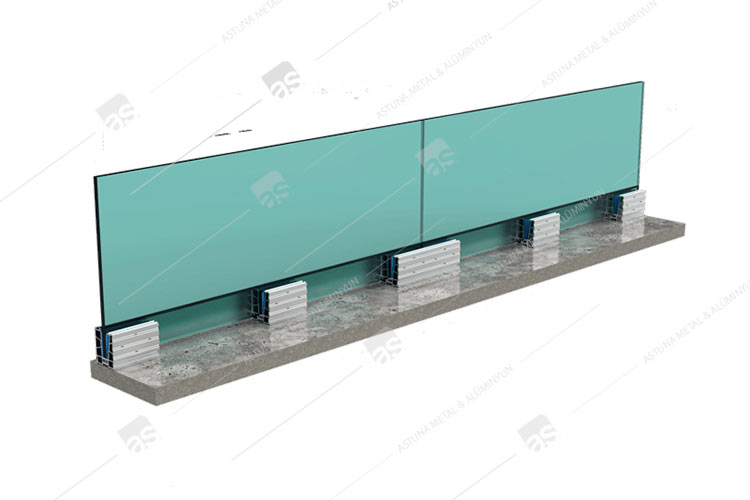
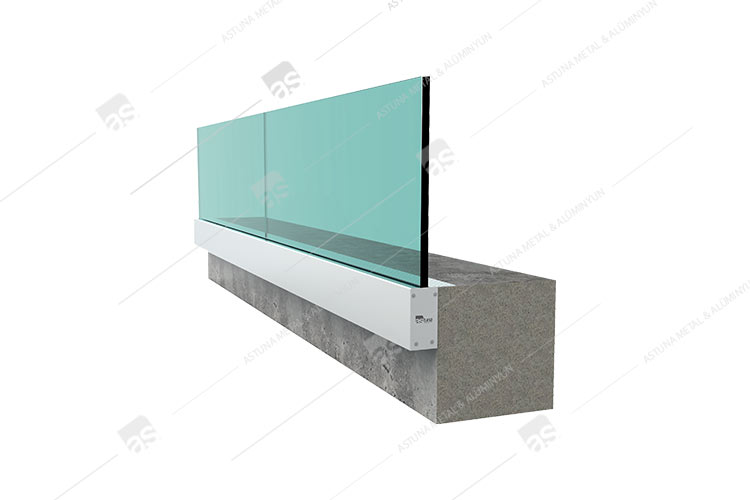
B25 GLASS BASE SYSTEM
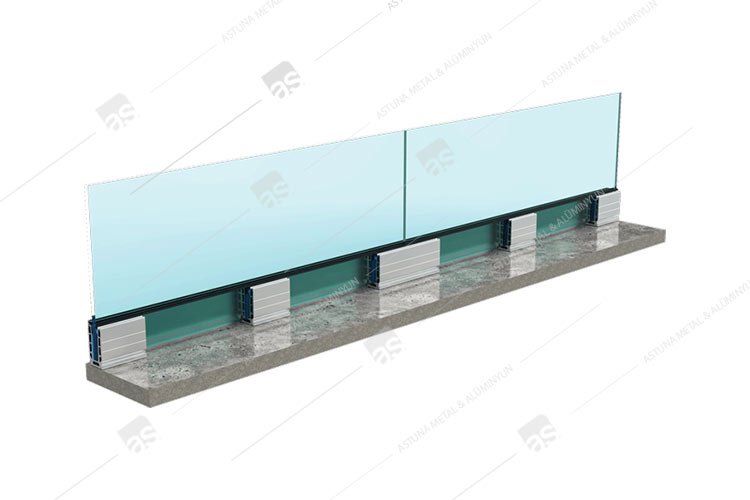
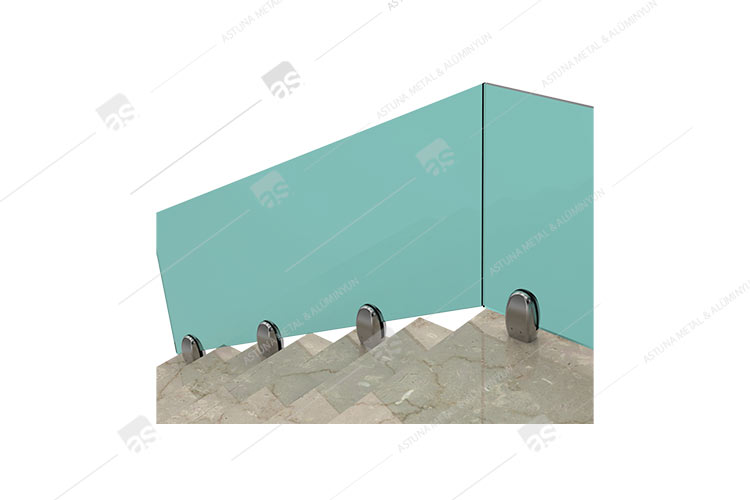
M84 GLASS BASE SYSTEM
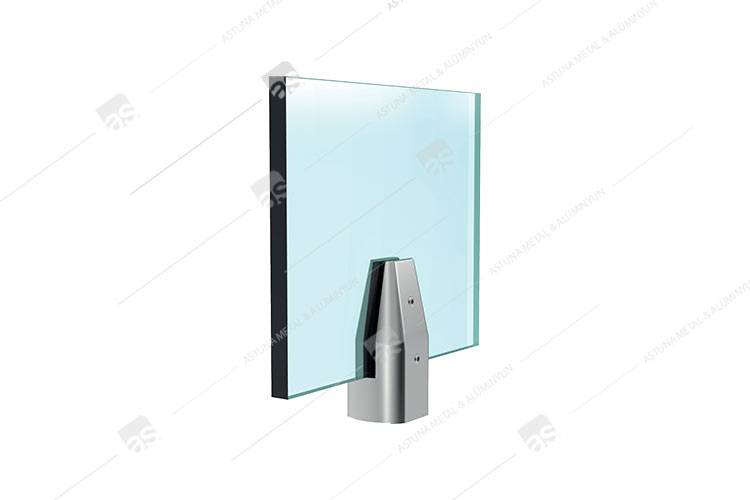
AS87 GLASS BASE SYSTEM
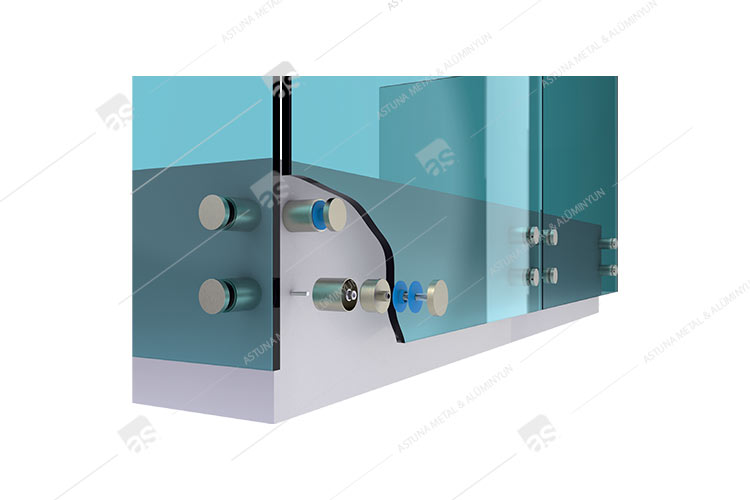
AK61 GLASS ADAPTER SYSTEM
AS20 GLASS BASE SYSTEM
CF33 GLASS CARRIER SYSTEM
D11 GLASS BASE SYSTEM
DK10 GLASS CARRIER SYSTEM
K21 GLASS CARRIER SYSTEM
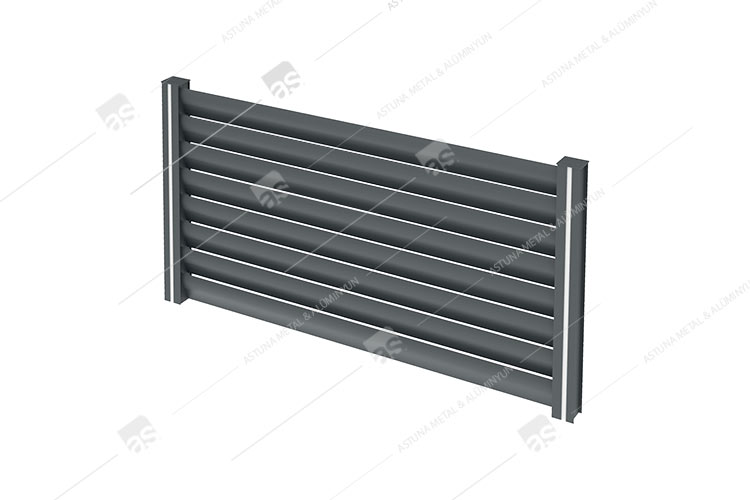
LAMA STRUTS SYSTEM
LM20 GLASS CARRIER SYSTEM

HOW TO MAKE WROUGHT IRON RAILING
Creating wrought iron railings is a meticulous process that combines skilled craftsmanship with the unique properties of wrought iron. Here’s a comprehensive guide on how to make wrought iron railings:
1. Design Planning: Begin by conceptualizing and creating a detailed design for the wrought iron railing. Consider the architectural context, aesthetic preferences, and functional requirements. This design will serve as a blueprint for the crafting process.
2. Material Selection: Choose high-quality wrought iron for the railing project. Wrought iron is preferred for its low carbon content and malleability, allowing for intricate forging. Select additional materials like scrolls, bars, and decorative elements as needed.
3. Forging and Shaping: Heat the wrought iron bars in a forge until they become malleable. Skilled blacksmiths then use hammers and anvils to forge the iron into the desired shapes. This step involves creating scrolls, twists, curves, and any other decorative elements outlined in the design.
4. Assembly: Assemble the forged components according to the design. Connect scrolls, bars, and other elements securely using traditional blacksmithing techniques such as welding or riveting. Ensure the structural integrity of the railing during assembly.
5. Finial Creation: Craft finials, which are decorative end pieces, to complete the railing. Finials can take various forms, from simple caps to more elaborate designs. They are typically forged separately and then attached securely to the ends of the railing.
6. Scrollwork and Details: If the design includes intricate scrollwork or other details, carefully forge and attach these elements. Pay attention to symmetry and precision to achieve the desired aesthetic.
7. Sanding and Smoothing: Once the components are assembled, use sanding tools to smooth out rough edges and surfaces. This step enhances the overall finish and prepares the railing for any additional coatings.
8. Coating Application: Apply a protective coating to the wrought iron railing. Common options include paint, powder coating, or specialized finishes designed to protect the iron from rust and corrosion. The chosen coating should complement the overall design.
9. Installation: Install the wrought iron railing securely in its intended location. Follow local building codes and guidelines for proper installation. Ensure that the railing is level, stable, and meets all safety requirements.
10. Maintenance Recommendations: Provide the end-user with maintenance recommendations. While wrought iron is known for its durability, periodic cleaning and inspections can help preserve its appearance and structural integrity over time.
Crafting wrought iron railings is a traditional and skilled process that requires expertise in blacksmithing and metalworking. For those without experience in these crafts, seeking the assistance of professional blacksmiths or metalworkers is advisable to ensure the successful creation of a wrought iron railing that meets both aesthetic and safety standards.